Welcome to nerd1creations!

This space will be used to consolidate all of my custom projects that I work on. I will show work in progress as well as completed projects. I do a little bit of a lot of things including but not limited to customizing toys and designing custom add on's for card and board games. Please feel free to contact me about any of my projects of if you have an idea or would like to commission me to create something for you.

Sunday, November 3, 2013

Marvel Universe Thunderbolts Punisher

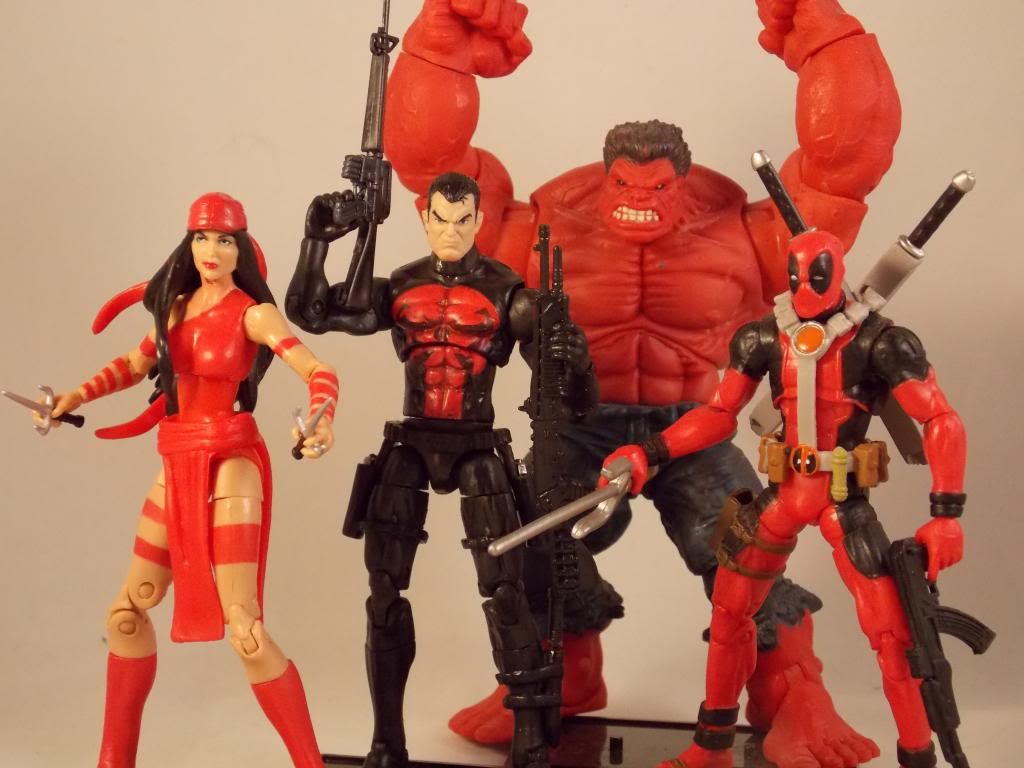
Two of my favorite comic characters currently are Flash Thompson Venom and Deadpool. They are both currently in a anti hero team called the Thunderbolts along side Red Hulk, Elekra and Punisher. I decided that I really wanted a Marvel Universe Thunderbolts team. Most of these characters have been released in the line but not in the right colors. Time for some repaints! First in line is Punisher. This is how the figure started out. This is by far my favorite Marvel Universe Punisher that has come out. I love the way that the skull looks and I did not want to change the shape of it even though it differs slightly from the Thunderbolts comic version.


This was a relatively basic repaint but I think that it turned out fantastic. I also decided that he needed better weapons than what he came with.

Figured that I would take a picture of my Thunderbolts so far, I only need a Flash Thompson Venom now.

Saturday, November 2, 2013

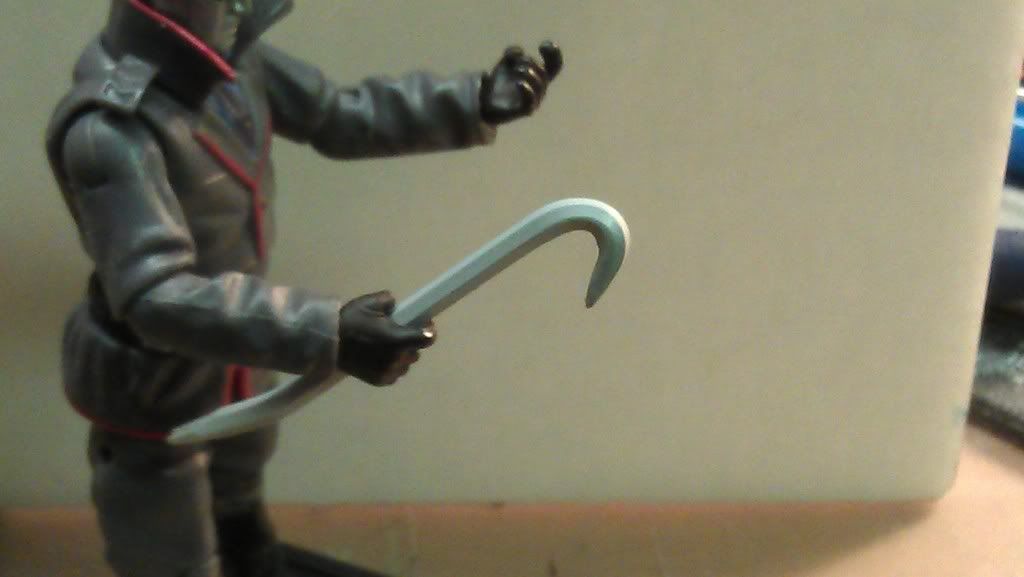
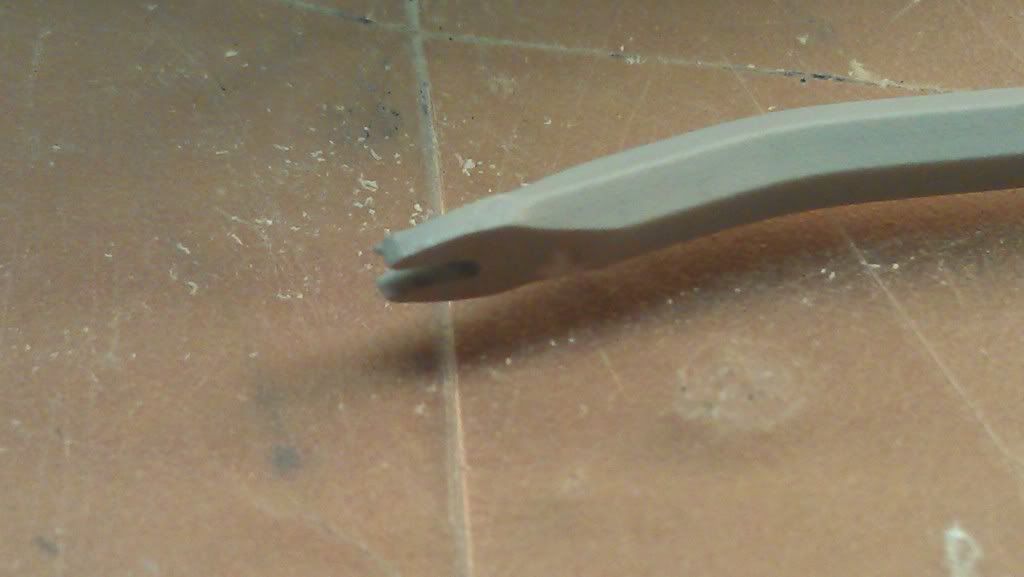
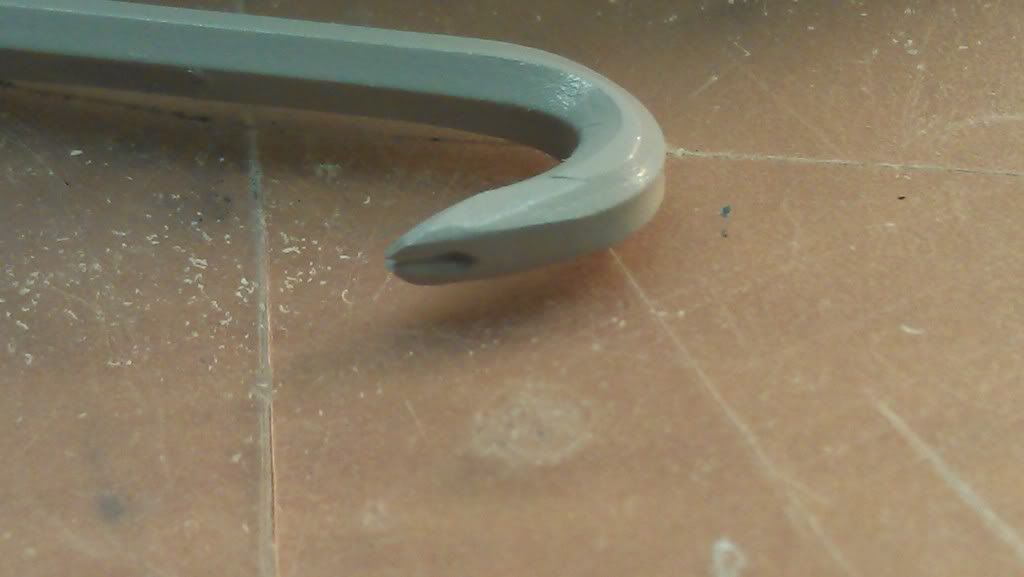
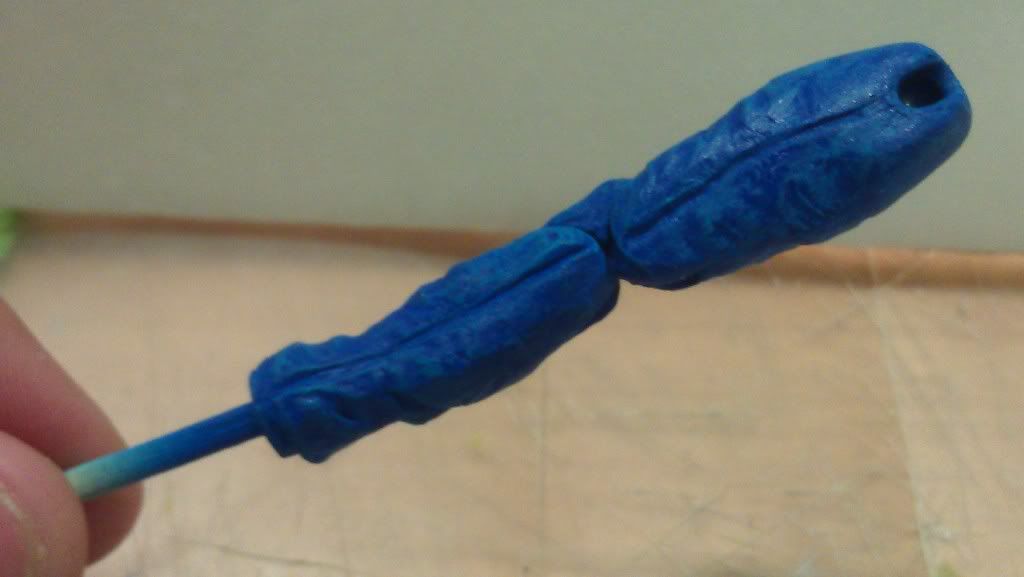
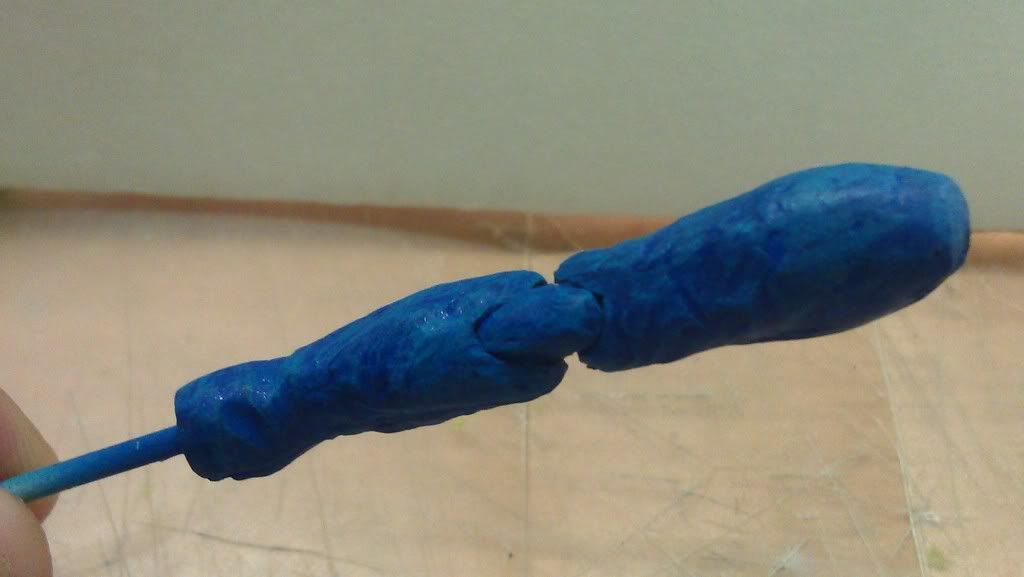
Custom 1/18 scale crowbar

Project completed 11/2/13

I finished this a while a ago be never updated the post. This was finished using acrylic paints and then clear coated with a gloss finish. I did not want a weathered look but more of a brand new look for this piece.
 Project start 6/21/11

The other night I was thinking about what non traditional weapons I could make in 1/18 scale and a crowbar popped into my head so I decided to make one. This is the second one that I made, the first one is not worth posting.


Tuesday, May 22, 2012

Marvel Universe Venom touch up

It seems as of late that the quality control for more and more toys is non existent. I mean the prices keep going up but the quality goes down. You have to look through all the figures just to find one that isnt as bad as the rest with paint apps. Well sometimes you can not find what you are looking for in any stores so you have to order online and hope for the best. This venom figure was a total mess when I go it. I do not have any before pictures but I was able to clean it up alot with a fine paint brush and some patients.

The paint on the face was no where near any of the molded lines and the spider logo on the back and front had no legs, they where all blended together. I think that this turned out rather well for what I had to start with.


***Tutorial*** How to fix a broken arm socket

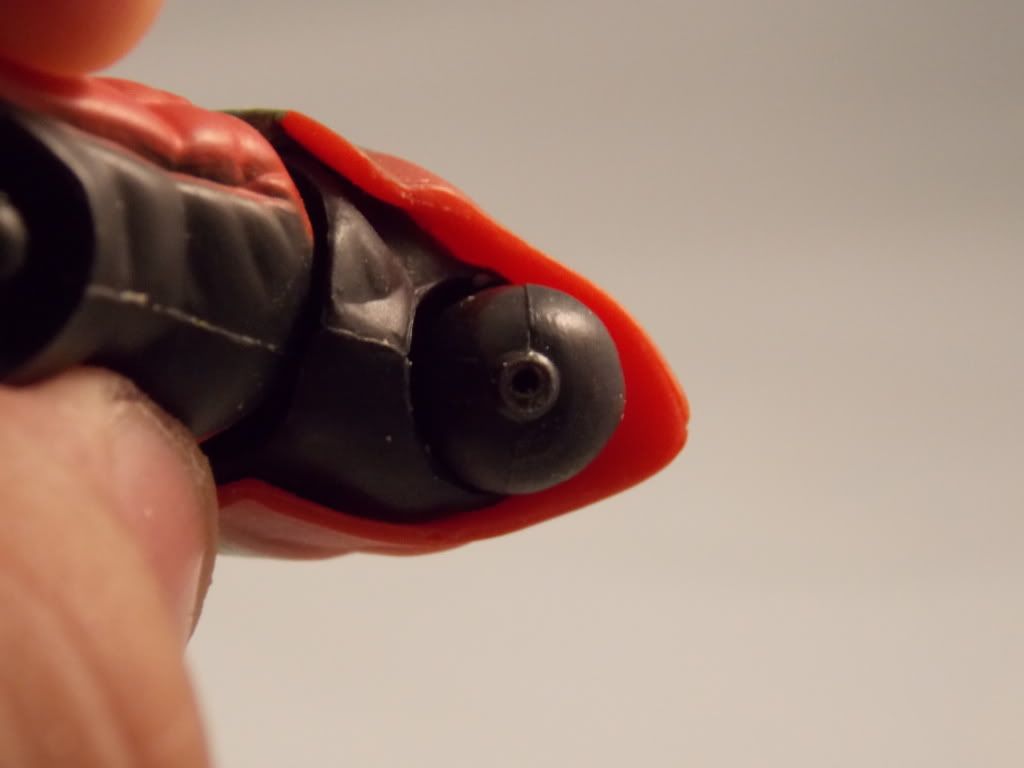
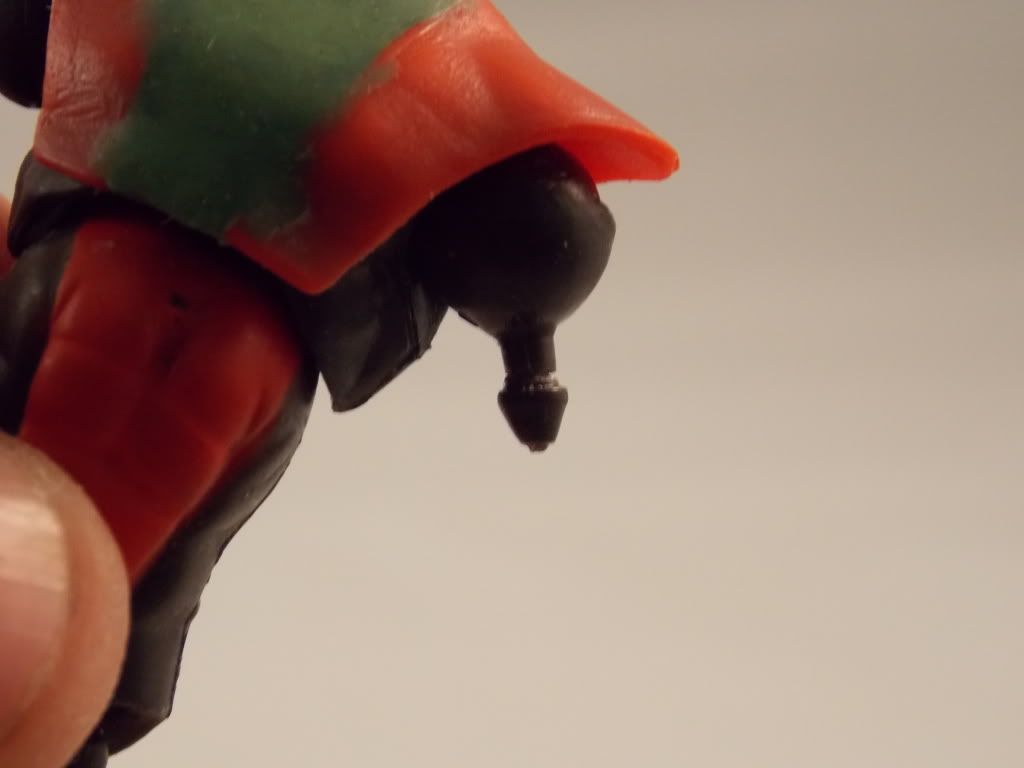
So sometimes when working on 3 3/4 figures you need to remove body parts to paint them, we have all been there. Generally heating a figure up with a heat gun will yield the best results for popping the sockets but every once in a while tragedy strikes and the socket breaks off.
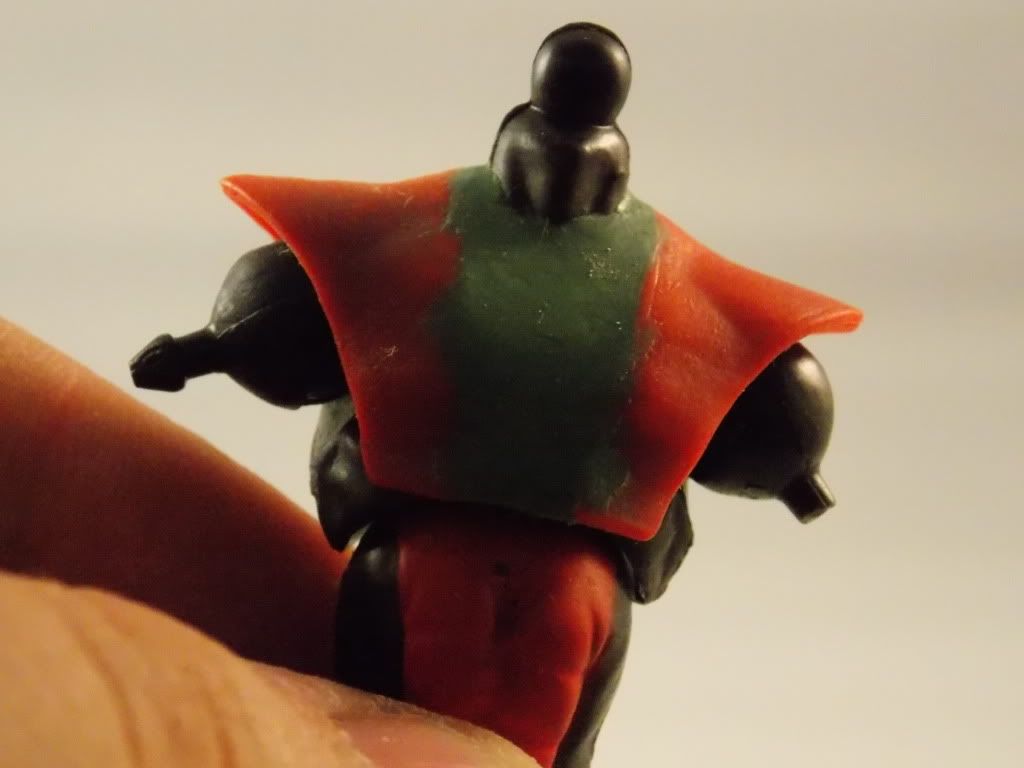
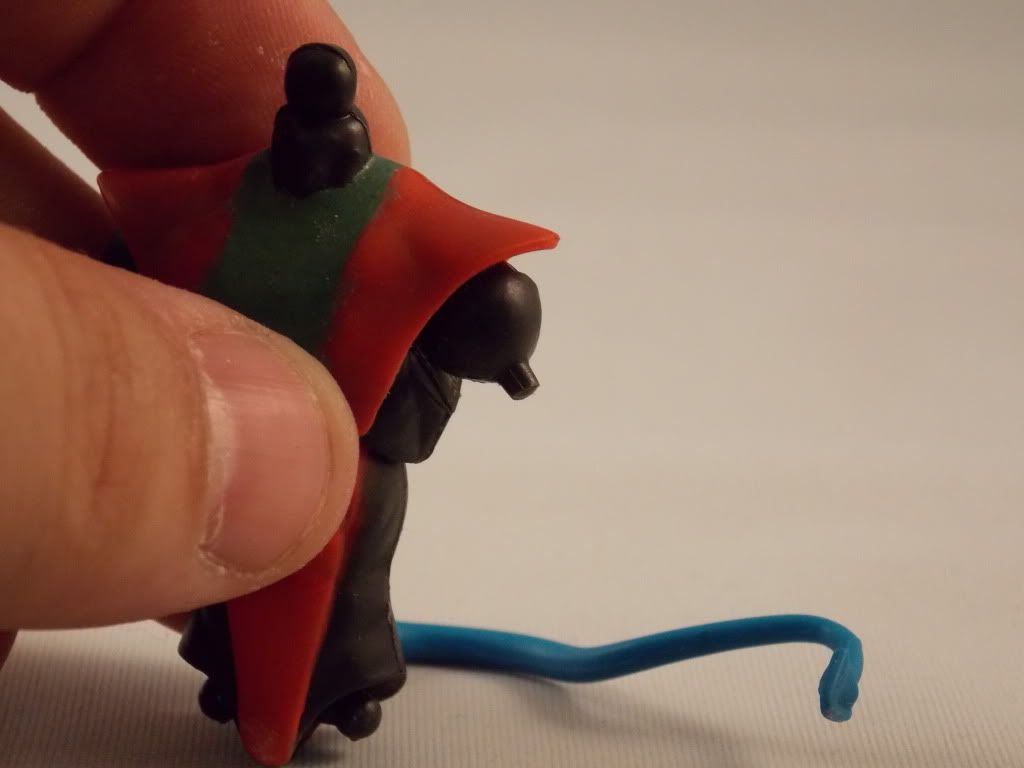


In this situation you might be thinking that you are screwed and your only option is to slit the body part to get the piece out and hope you can glue it together or permanently glue arm back on and lose all mobility in that limb. I am here to tell you there is another option. SURGERY!

First thing you will need is a trusty pin vise with a really small drill bit and some wire that is about the same size.
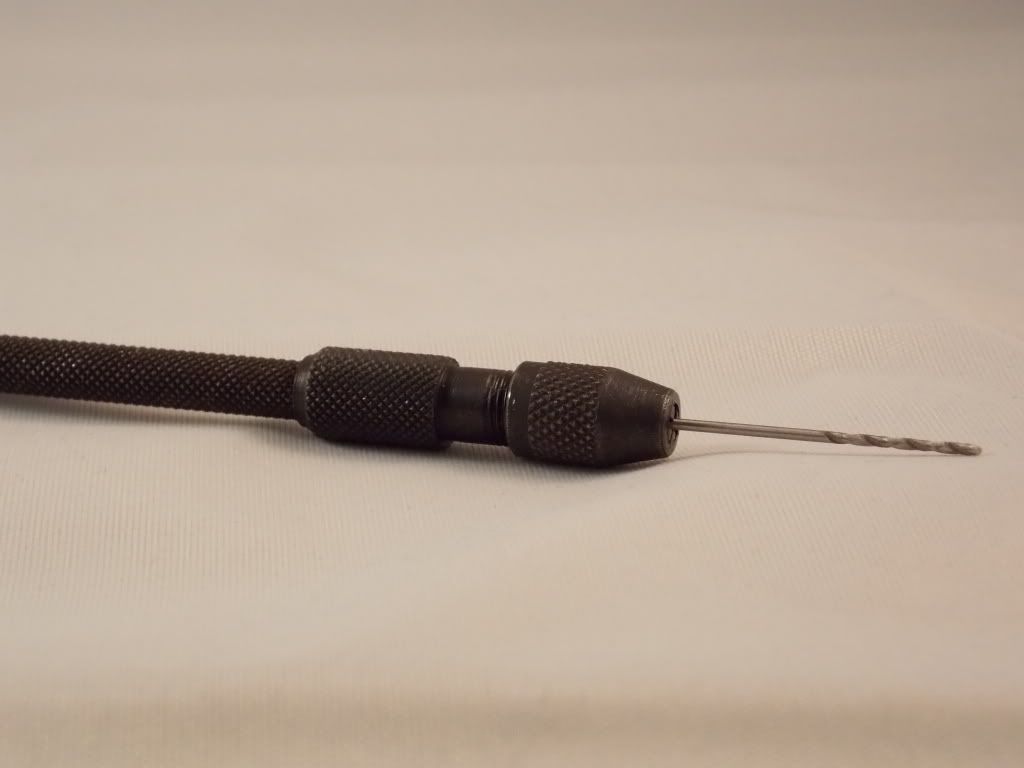
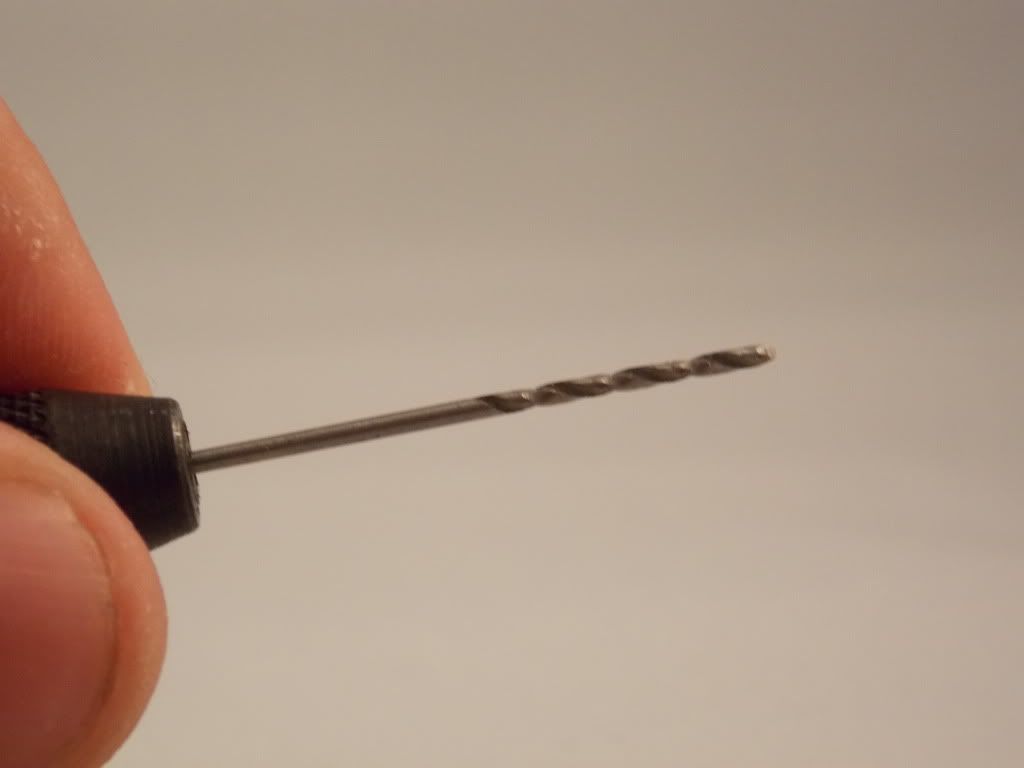


Now you will need to be very careful but you will drill a hole in the exposed area of the rocket that is stuck in the limb, in this case its and arm. Then you will dry fit a piece of your wire into the newly drilled hole. once you make sure it will fit you use just enough super glue to barely coat the tip of wire we will be putting into the socket. Once its try you can heat the arm up again and pull the socket out with needle nose pliers.

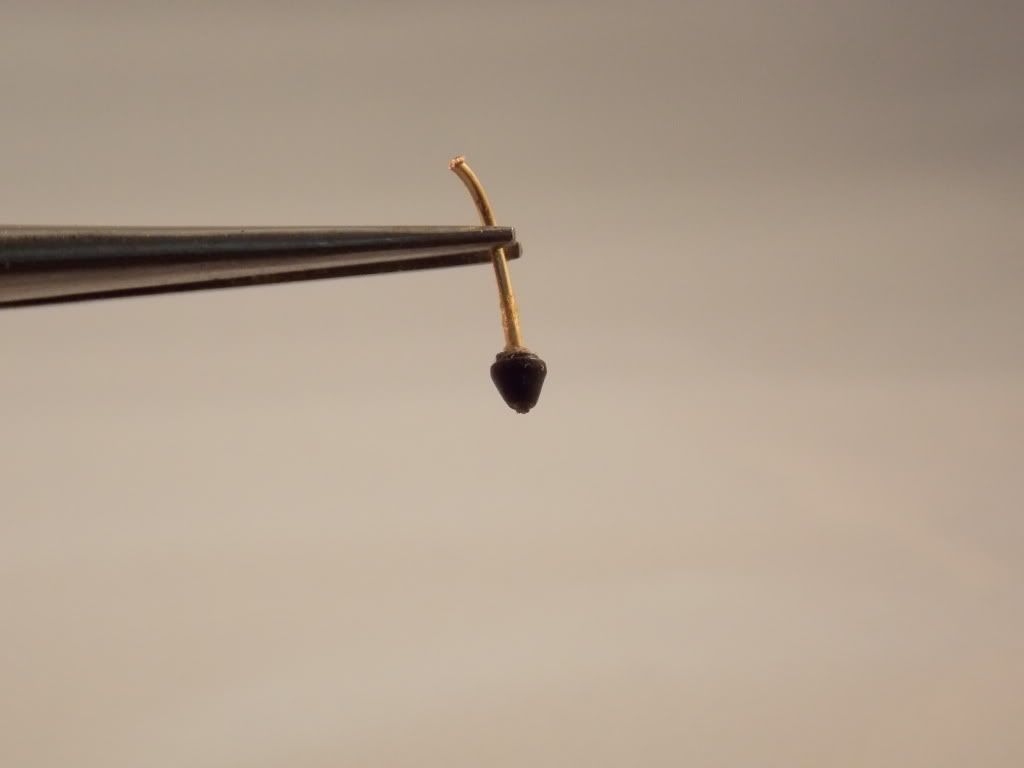


Now using the same drill bit drill a hole into the portion of the arm that broke off.
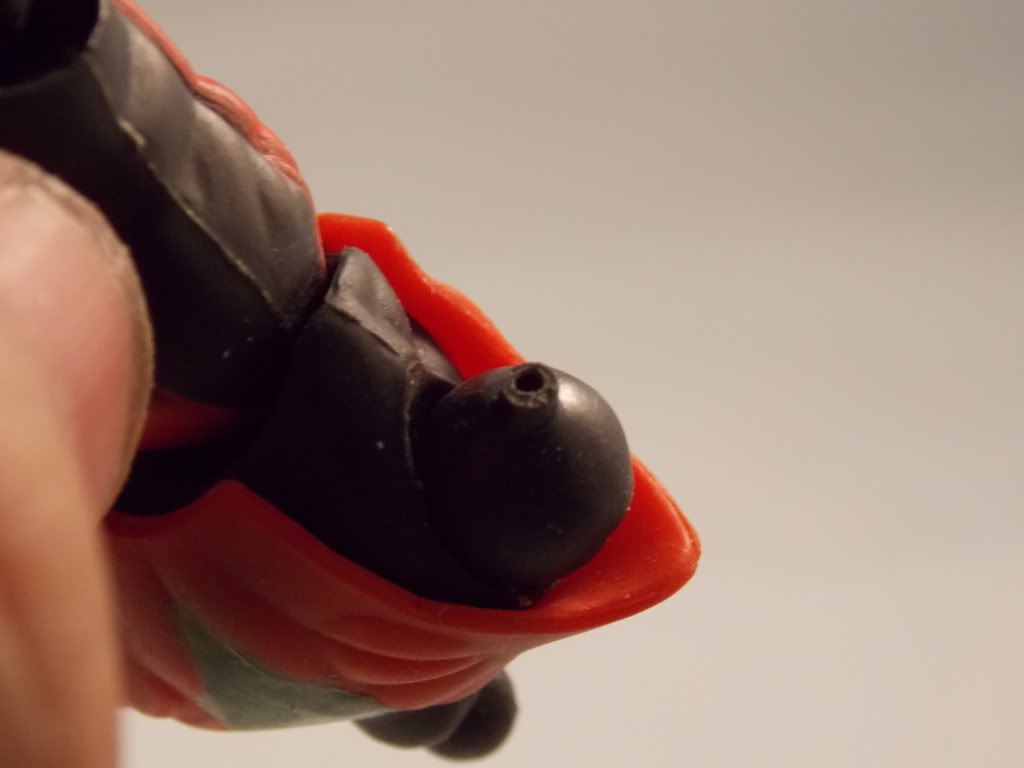


Now we trim down our piece of wire on the socket nub. Make sure not to trim off too much. Trimming off too little is an easy fix but too much can spell disaster.
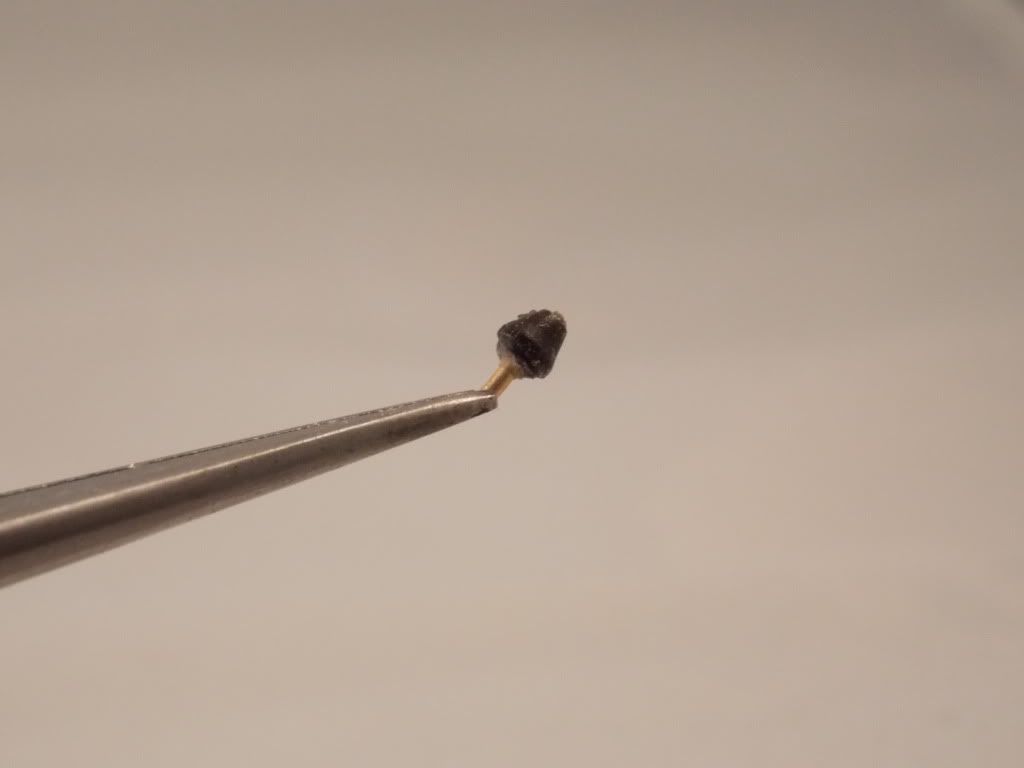


Now lets try a dry fit.
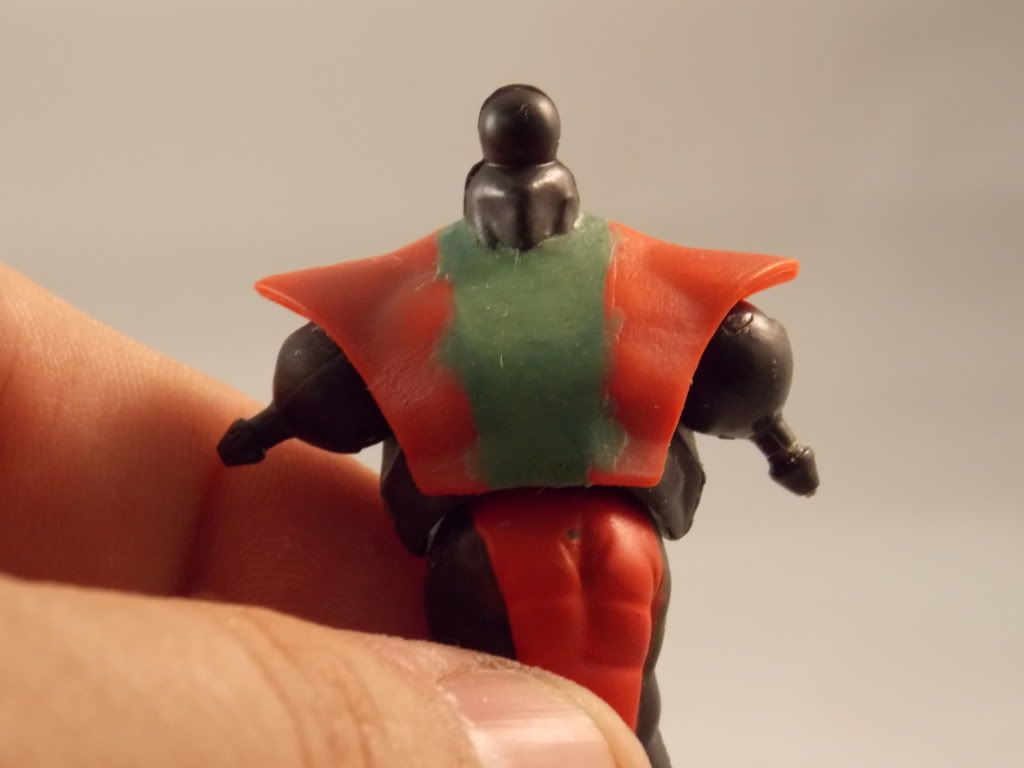


PERFECTO, little bit of glue and your back in action!!

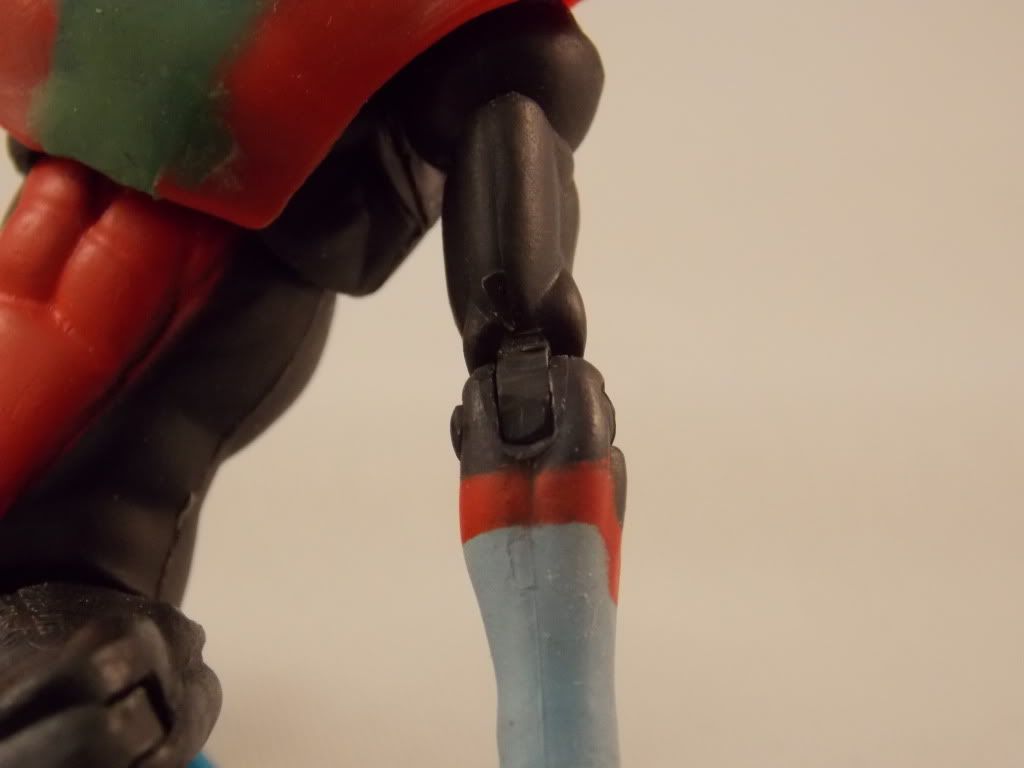
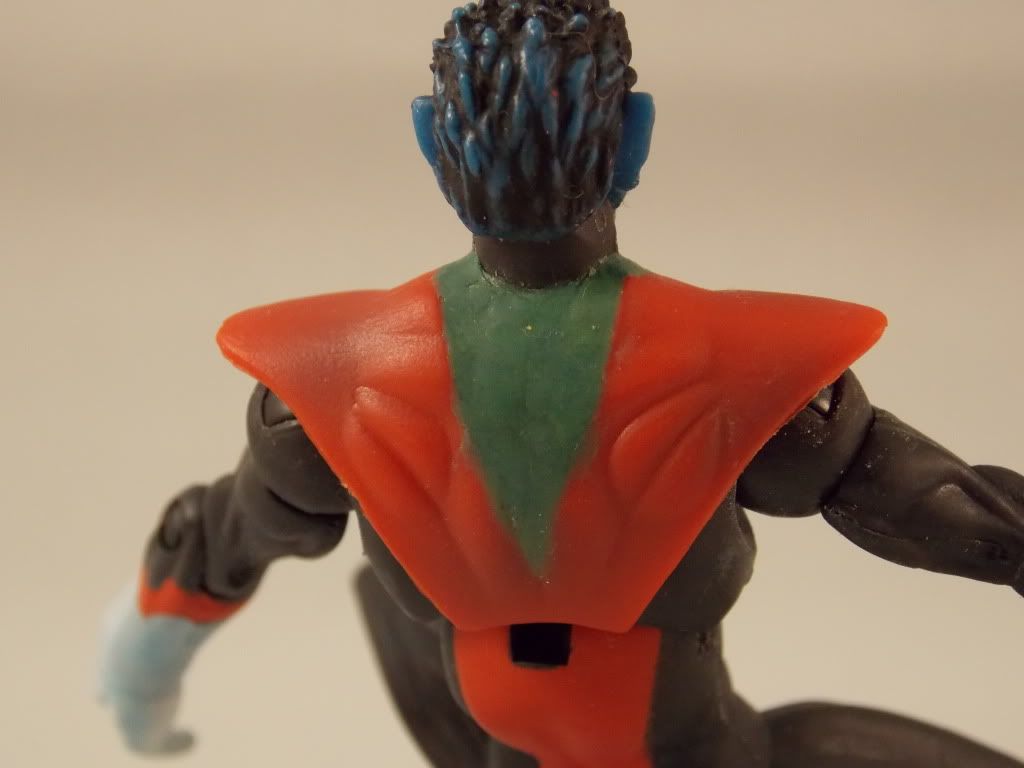
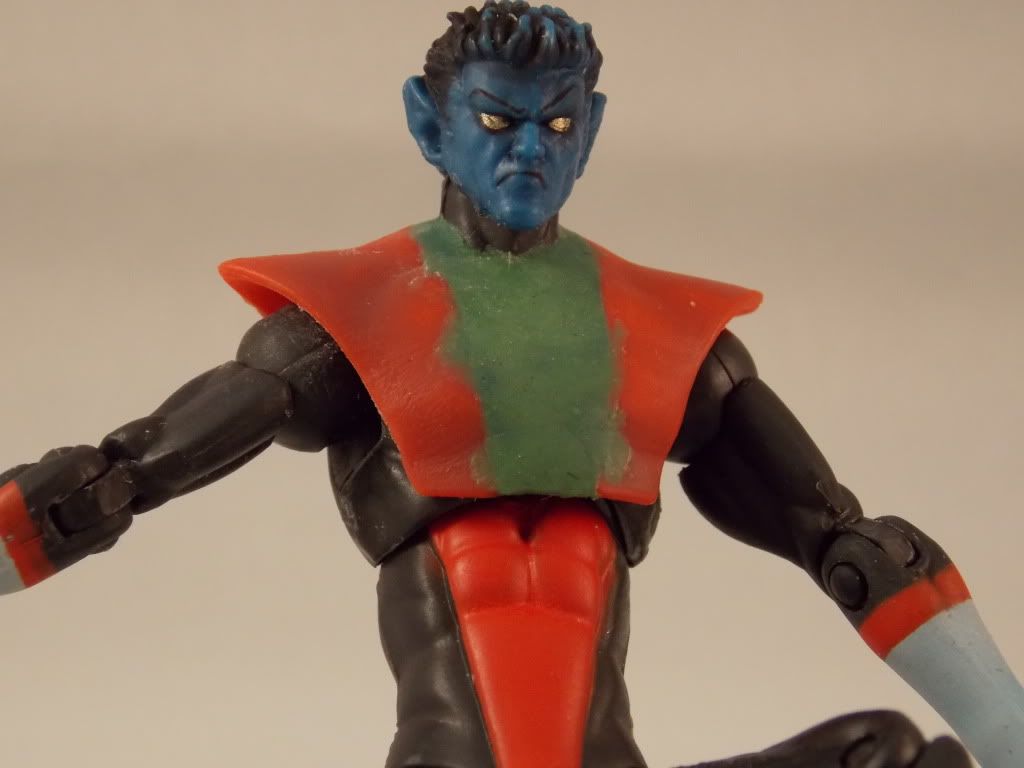
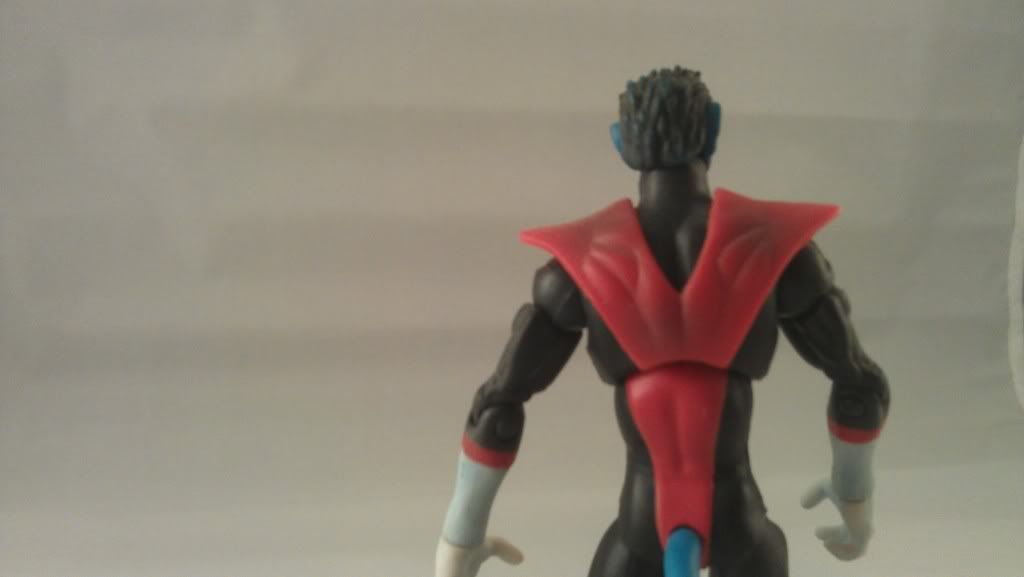
X-Force / Age of Apocalypse Nightcrawler

5/22/13 - Update

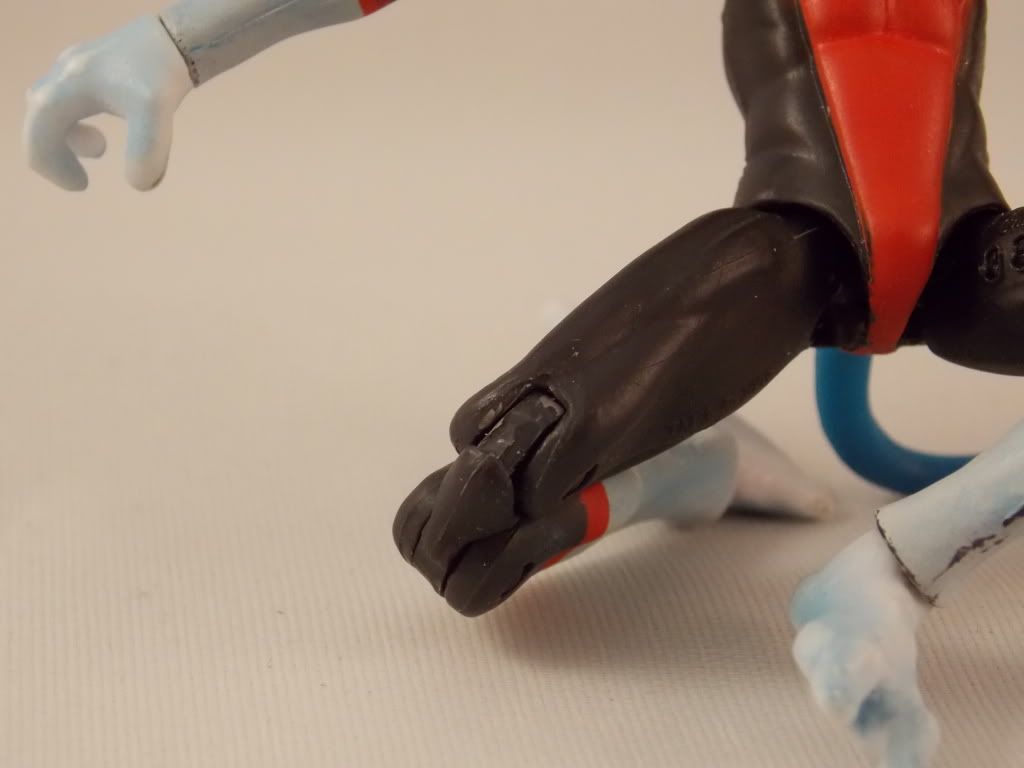
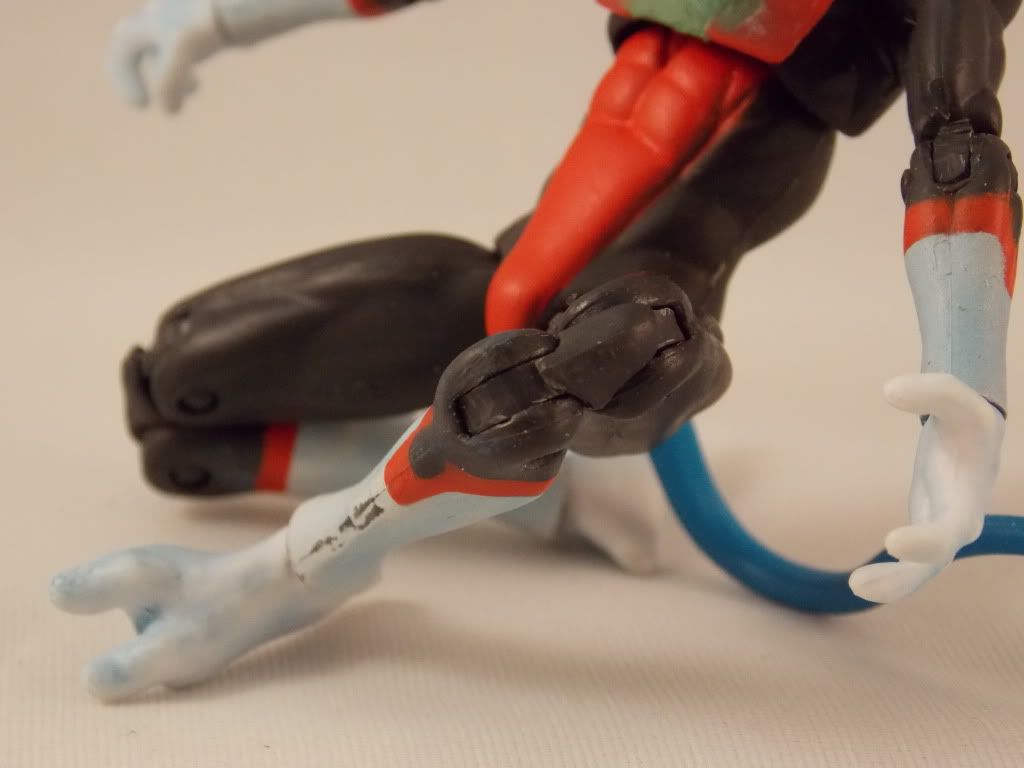
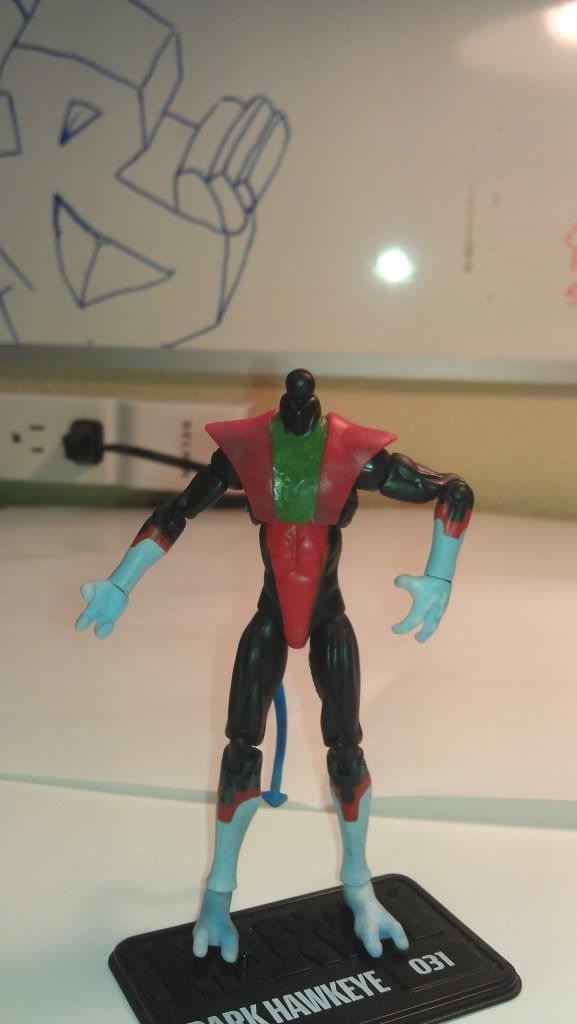
Had some time to finally begin paint prep of this bad boy. I used an xacto knife to trim the joints.


I also sanded down the areas that I sculpted in order to paint them.


4/30/12 - Start of Project 

It has been some time since I have been able to work on any projects. I moved to a different state
then had a temp roomate using the room that was to be my work space but after long wait I have started and even finished some new project..

I have been reading a ton of comics lately and love X-Force and the new Age of Apocalypse so I thought it fitting to make a custom Nightcrawler.

Here is the before shots (only have my camera phone at the moment.


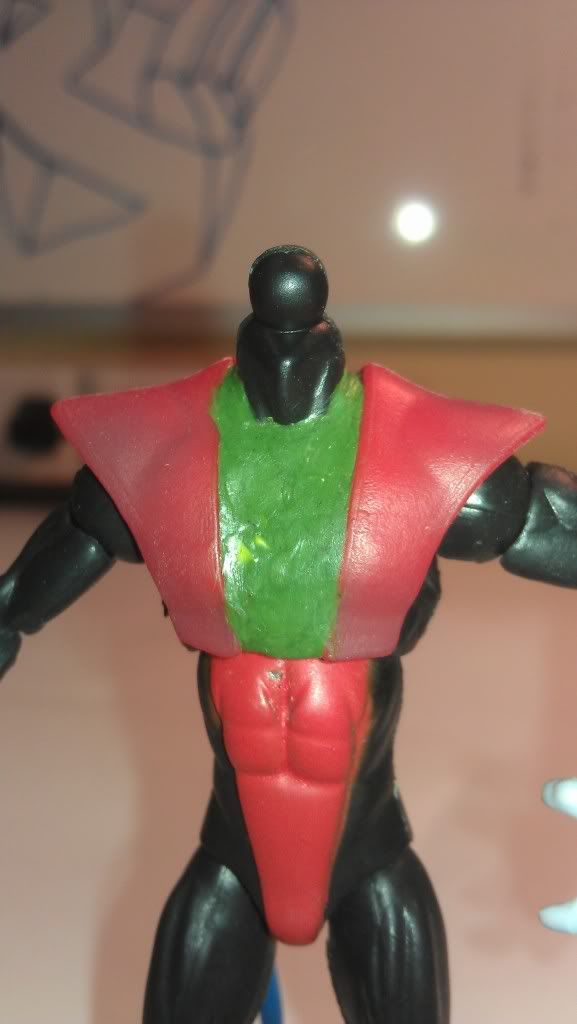
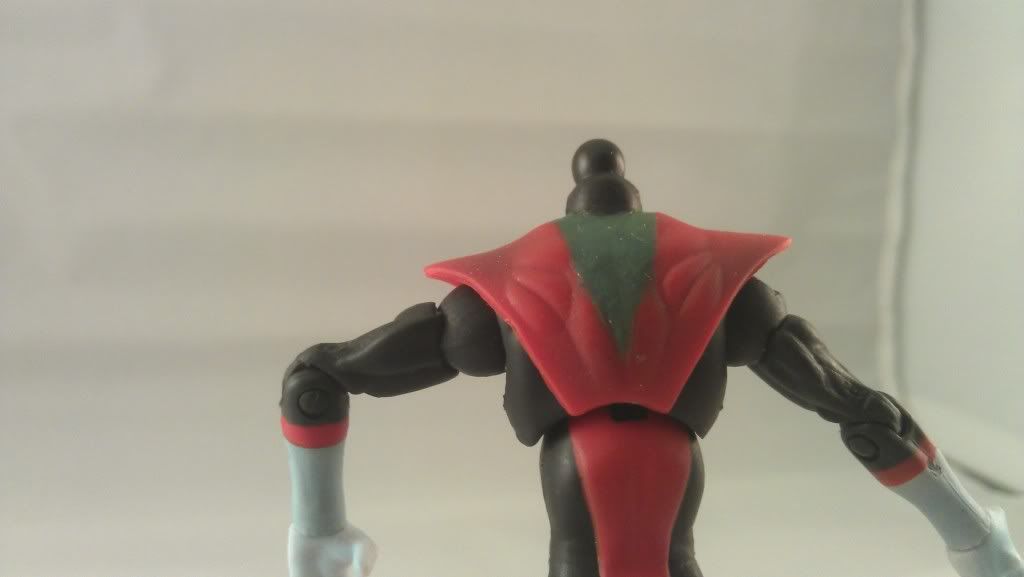
I am starting out by filling in the "tunic that Nightcrawler is wearing.


Now I have completely filled in the gaps and will begin sanding and prepping for primer.


Tuesday, May 1, 2012

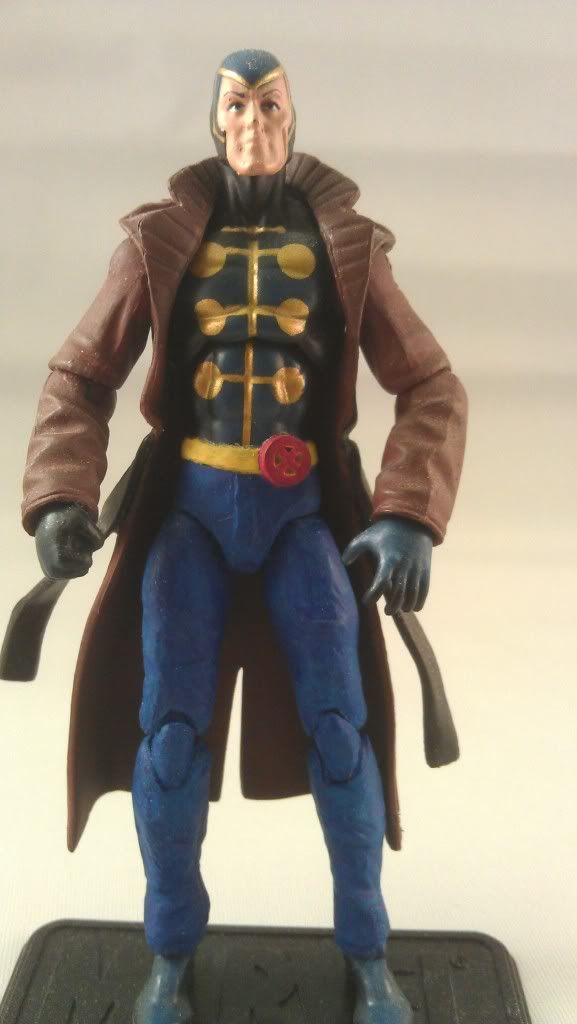
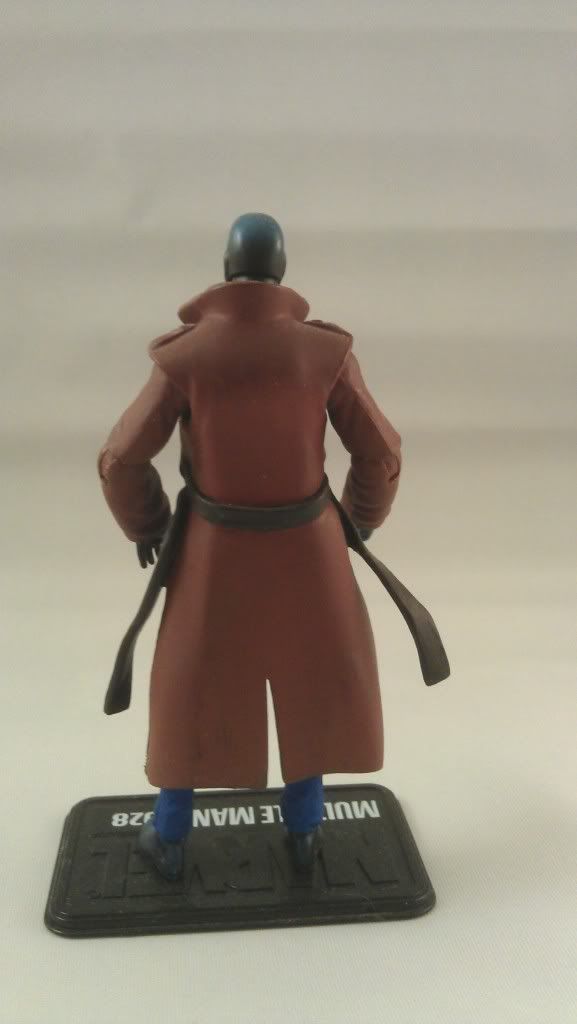
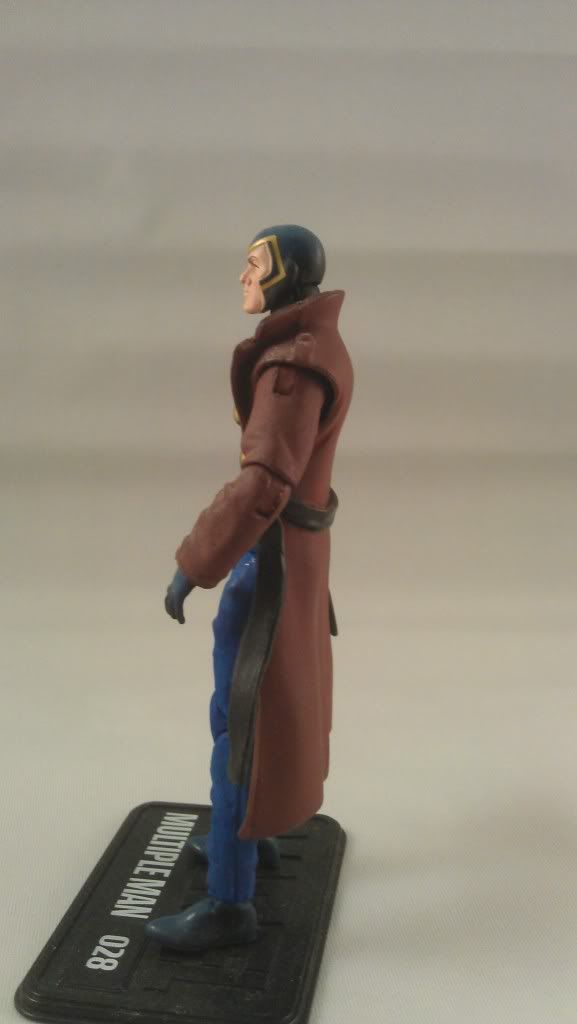
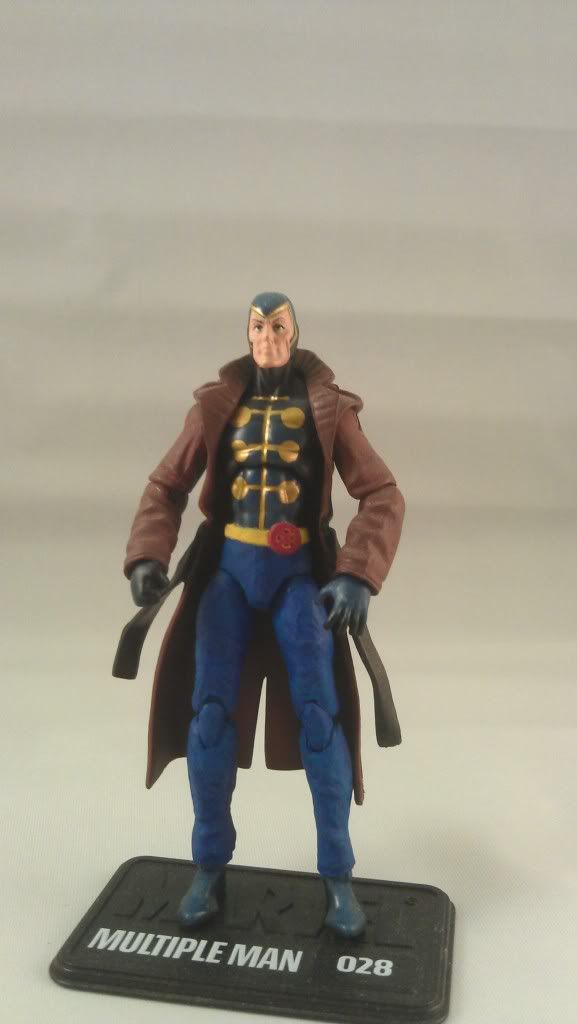
Marvel Universe Multiple Man

5/1/12 - Project completed

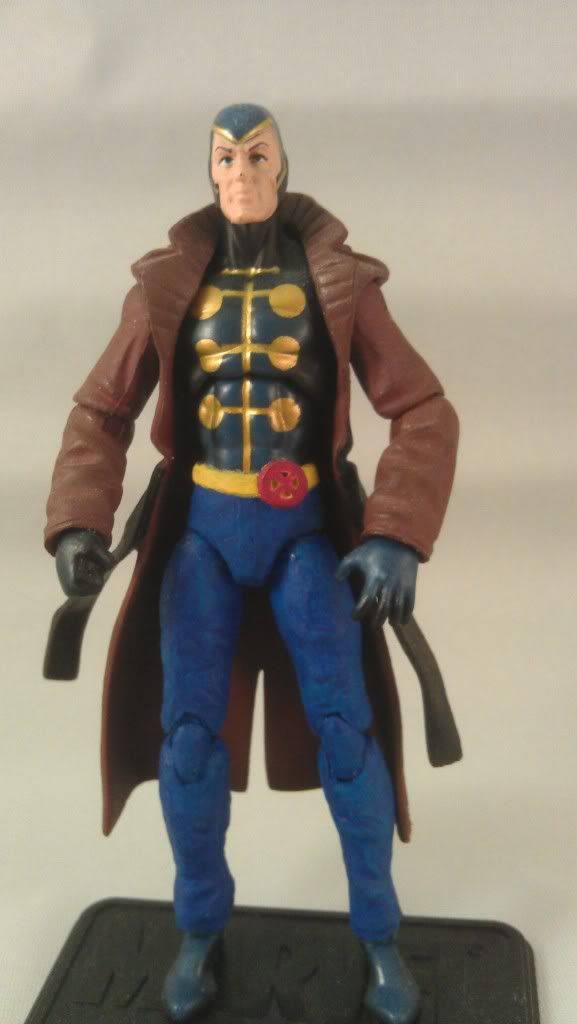
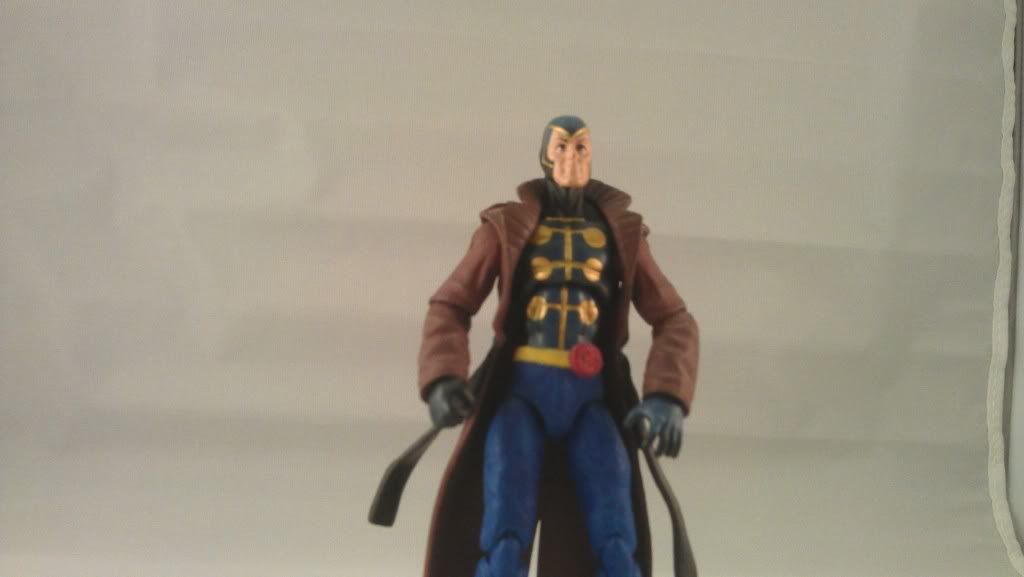
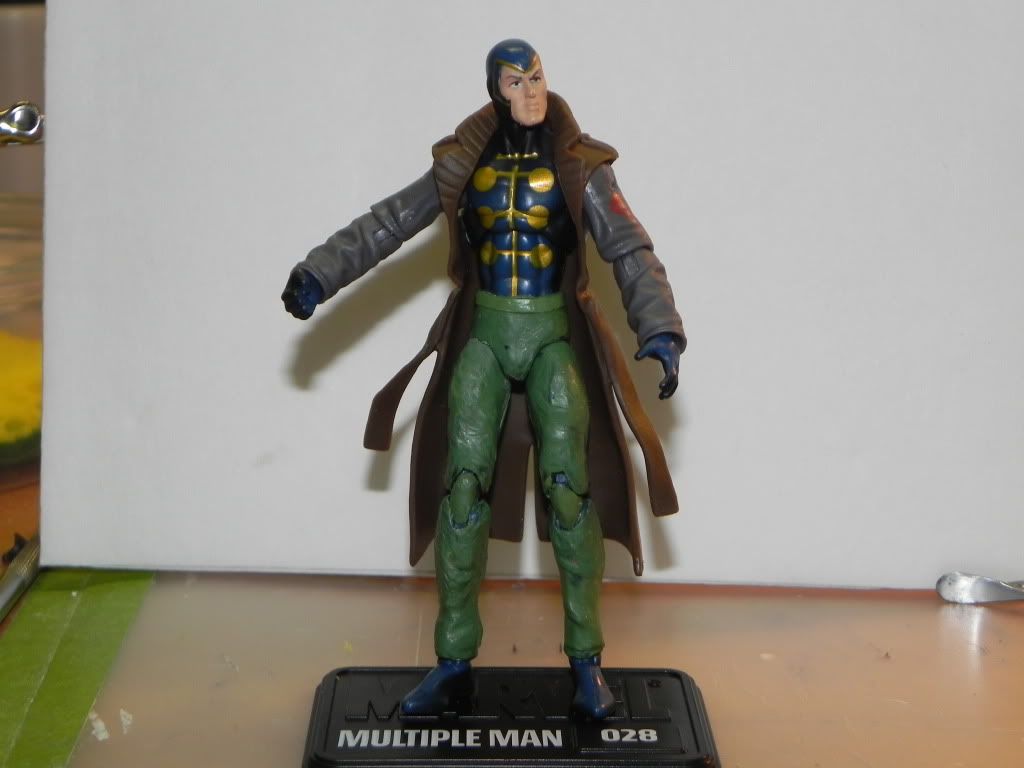
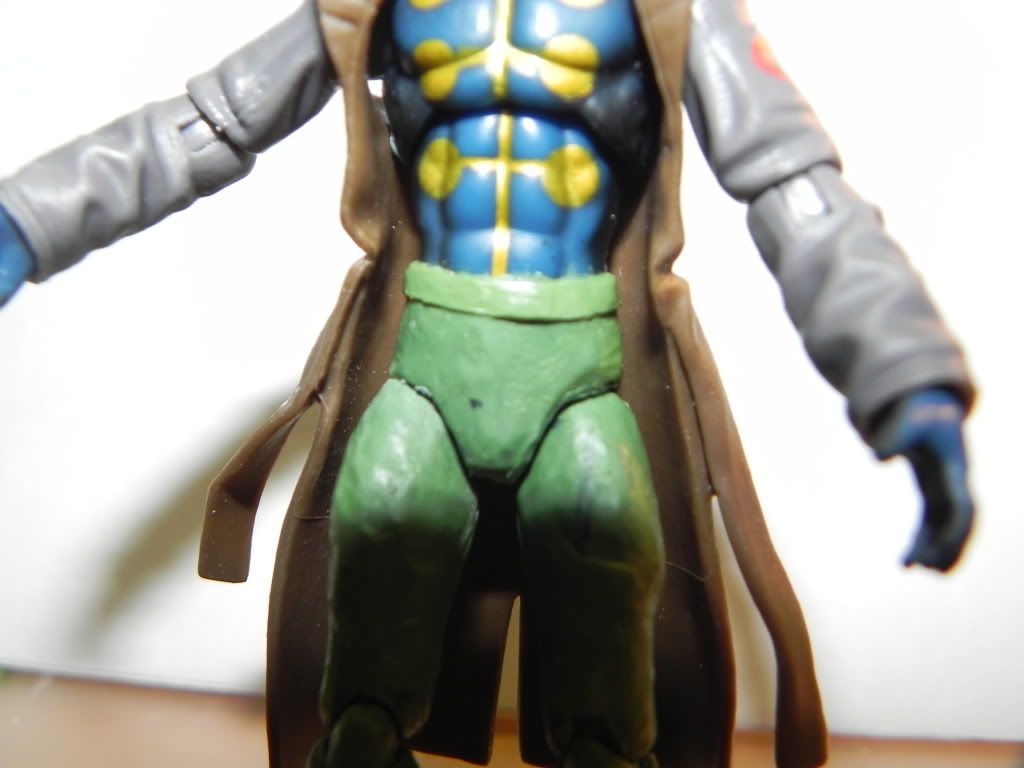
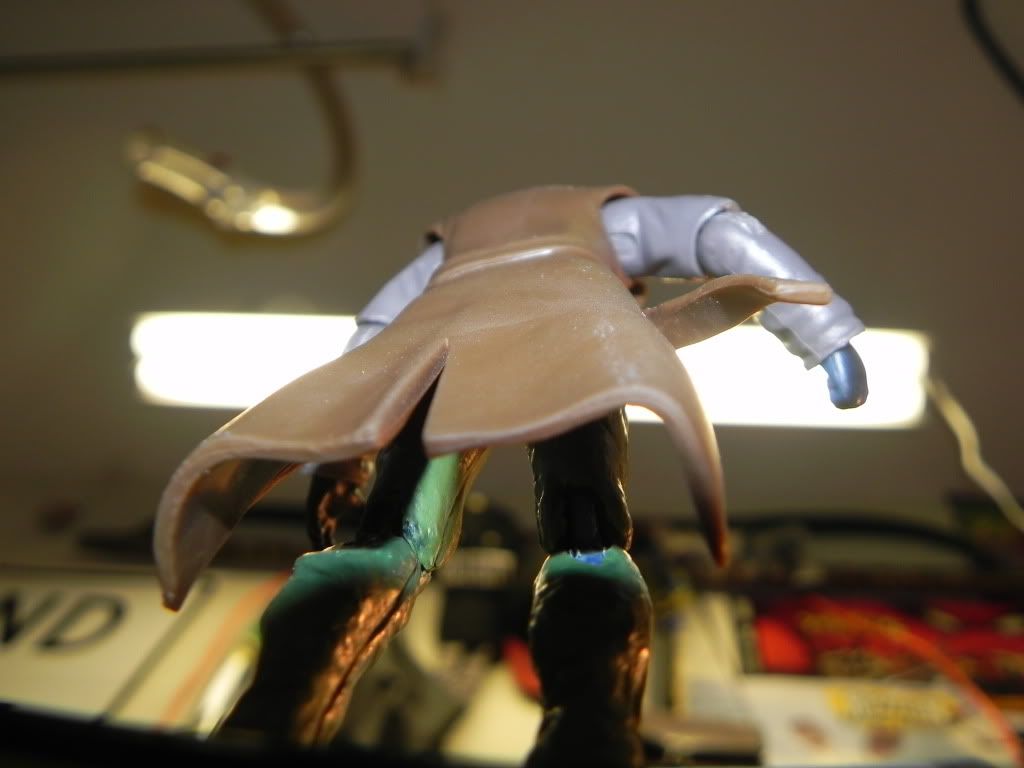
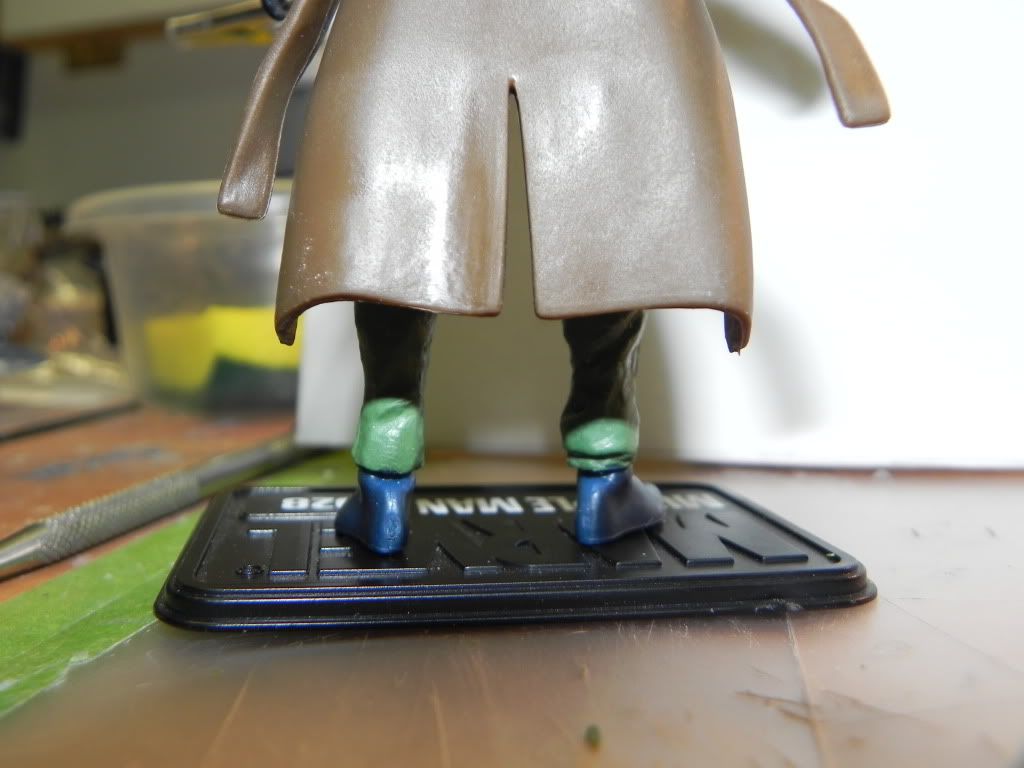
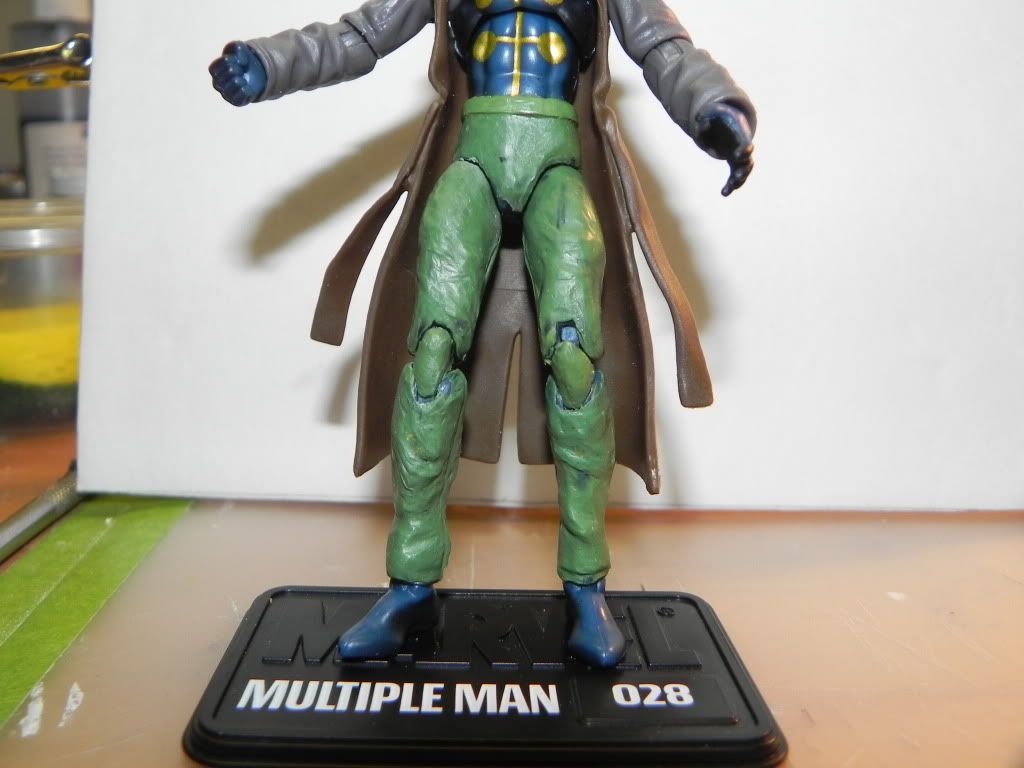
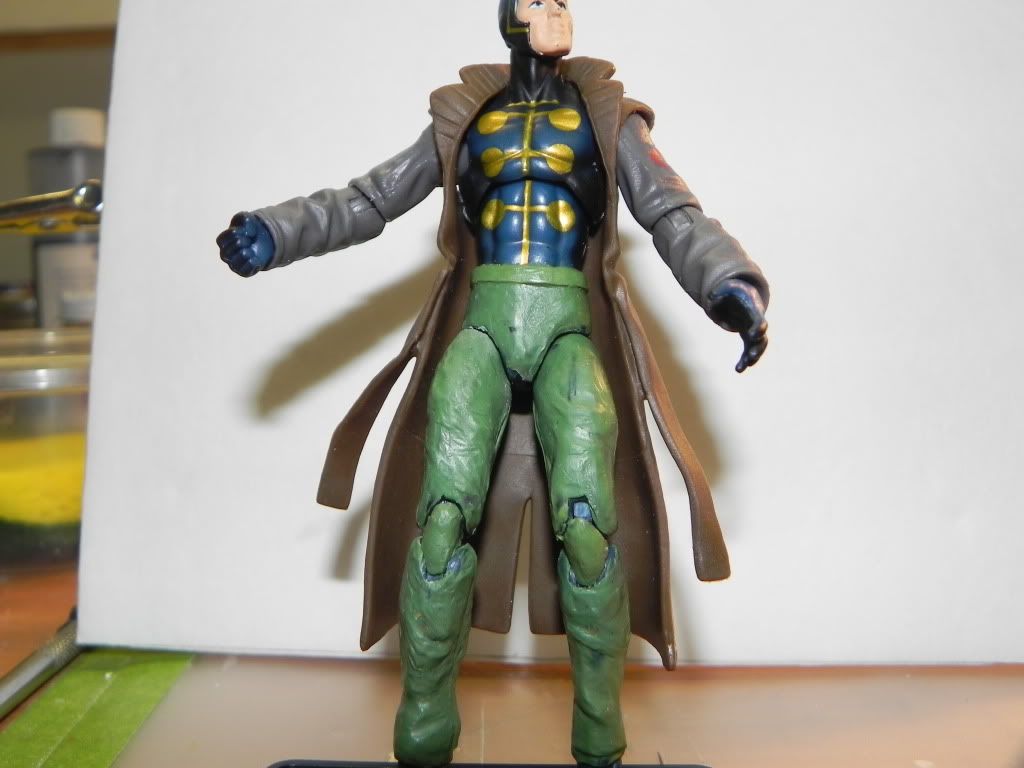
This was originally started as a commission but I took far too long getting it done so the original person who wanted it backed out so I will be keeping it for my collection. This was created using a Marvel Universe Multiple Man as a base. The pants where sculpted over the legs. The trench coat is a DC Universe Hush jacket and the arms are frin Rise of Cobra Destro.


8/17/11 - Progress report
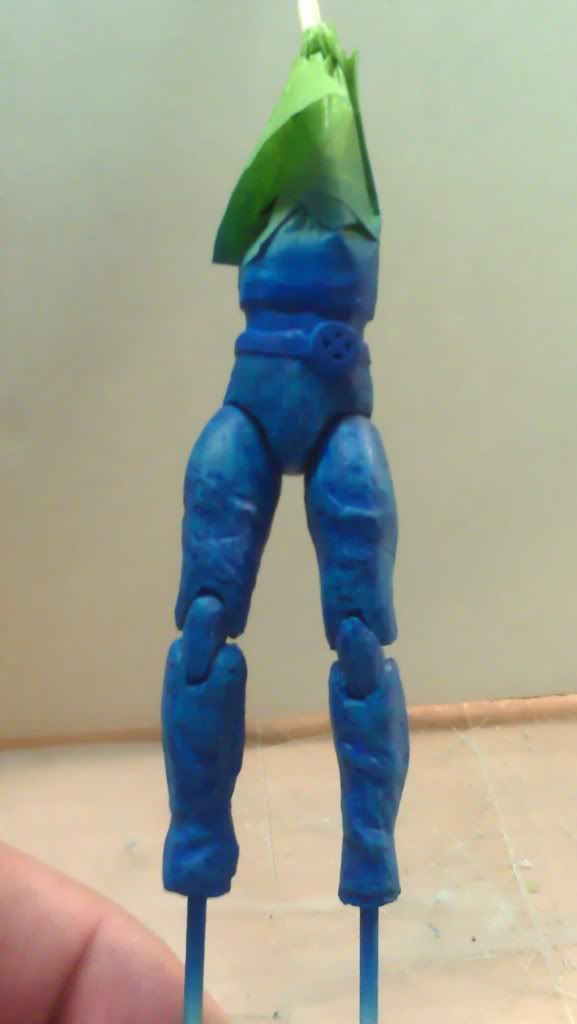
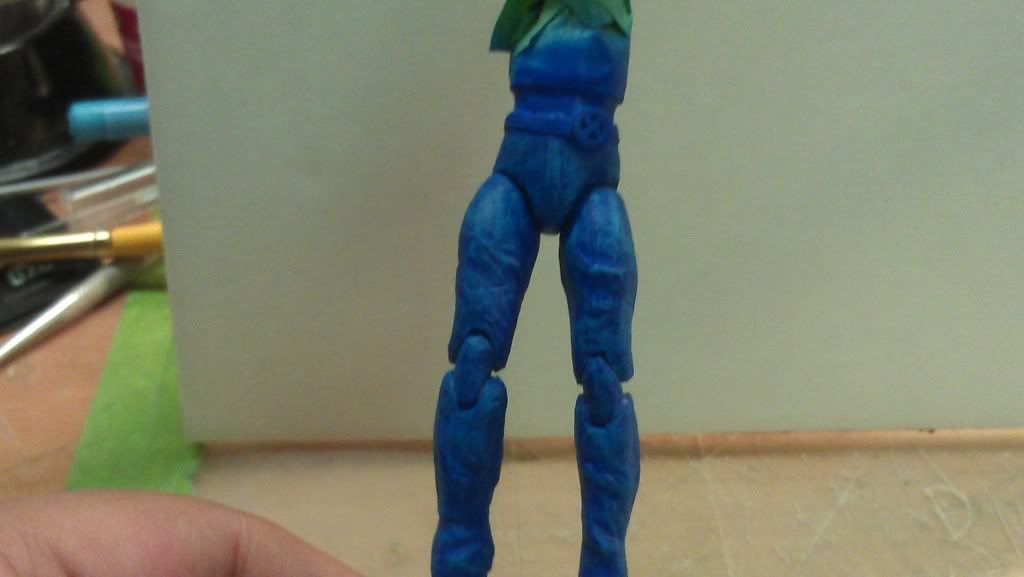
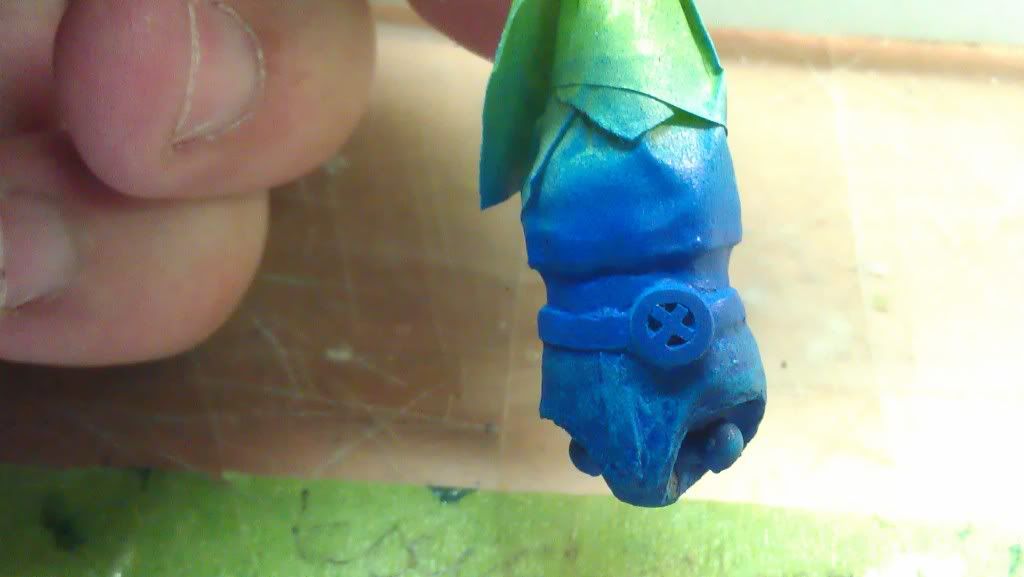
I have finally had some time to start painting the prototype for this project that ended up being bigger than I thought it would be LOL. I primed them then threw on 2 coats of blue via airbush then I dry brushed a lighter blue and put a clear blue over the entire legs. I will be clear coating these but im not sure if it should be flat, dullcoat or gloss, I am leaning towards dullcoat or flat though. You can also see the sculpted X emblem on the belt too.


8/1/11 - The Project begins!
I was commissioned to give Multiple Man his signature trench coat and thought that it would be a pretty simple mod. Boy was I wrong! So far I have taken the original Marvel Universe figure popped all the seams, got new arms, the jacket, modded the hands so they will fit in the jacket. I thought it would be done with that and a fresh coat of paint.

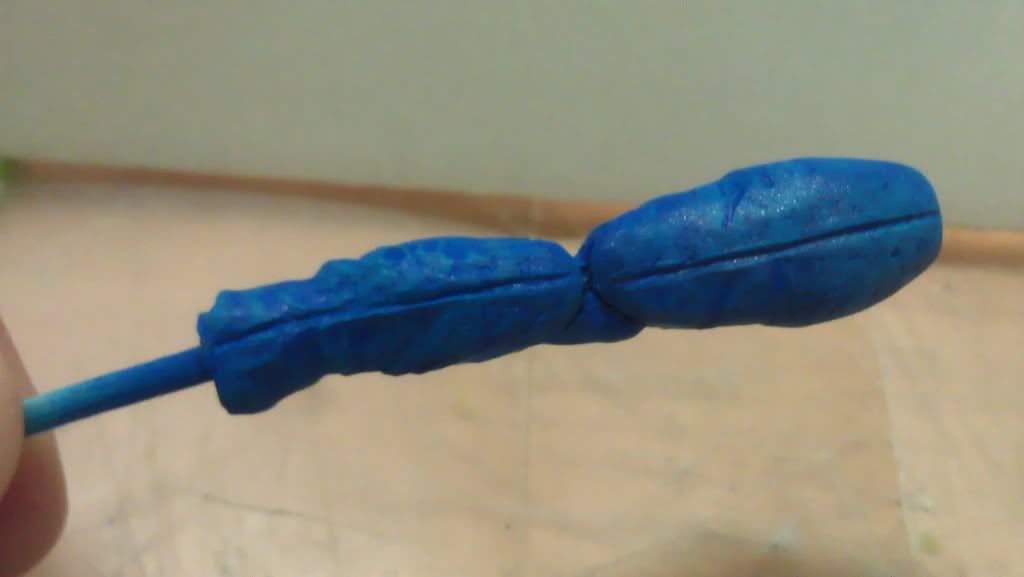
The person that this is for Ashrok wanted him to have jeans. I first tried to find some legs that would look good on this figure but because he has the body of a high school anorexic chick I quickly found this to be very hard so I decided to sculpt jeans onto the existing legs.

Here is what I have so far


I still have some shaping, sanding and touch ups to do. I am also adding an off center xmen logo belt buckle. After this figure is done I am going to send it to him and if he approves I have 4 more to do that are exactly the same...... Can I cry now? LOL j/k ashrok!